


Installing a PE pipe elbow in a tight space can be a challenging task, but with the right approach and tools, it can be accomplished efficiently and effectively. As a PE pipe elbow supplier, I've encountered numerous situations where customers needed guidance on this specific installation scenario. In this blog post, I'll share some valuable insights and step-by-step instructions to help you successfully install a PE pipe elbow in a confined area.
Understanding the Challenges of Tight Spaces
Before diving into the installation process, it's crucial to recognize the unique challenges that tight spaces present. Limited access can make it difficult to maneuver tools and materials, and there may be obstructions that impede the proper alignment of the pipe and elbow. Additionally, working in a tight space can increase the risk of injury, so it's essential to take appropriate safety precautions.
Pre-Installation Preparations
Gather the Necessary Tools and Materials
- PE Pipe Elbow: Select the appropriate size and angle of the PE pipe elbow based on your project requirements. As a supplier, I offer a wide range of PE pipe elbows to meet various needs.
- PE Pipes: Ensure that the pipes are the correct size and material to match the elbow.
- Pipe Cutter: A sharp pipe cutter is essential for cutting the PE pipes to the desired length.
- Deburring Tool: Use a deburring tool to remove any rough edges from the cut pipes.
- Pipe Joining System: Depending on the type of PE pipes you're using, you may need a solvent welding system or a heat fusion system for joining the pipes and elbow.
- Measuring Tape: Accurately measure the length of the pipes and the distance between the connection points.
- Safety Equipment: Wear safety glasses, gloves, and appropriate clothing to protect yourself during the installation process.
Inspect the Installation Area
- Clear the Space: Remove any obstacles or debris from the installation area to create a clear working space.
- Check for Obstructions: Identify any potential obstructions, such as walls, beams, or other pipes, that may interfere with the installation.
- Measure the Space: Determine the available space for the installation to ensure that the PE pipe elbow and pipes will fit properly.
Step-by-Step Installation Process
Step 1: Cut the Pipes
- Measure and Mark: Use a measuring tape to measure the length of the pipes needed for the installation. Mark the cutting points on the pipes using a pencil or marker.
- Cut the Pipes: Use a pipe cutter to cut the PE pipes at the marked points. Make sure to cut the pipes straight and cleanly.
- Deburr the Pipes: After cutting the pipes, use a deburring tool to remove any rough edges or burrs from the cut ends. This will ensure a smooth and proper connection with the elbow.
Step 2: Prepare the Elbow
- Clean the Elbow: Wipe the inside and outside of the PE pipe elbow with a clean, dry cloth to remove any dirt, dust, or debris.
- Apply Lubricant (Optional): If necessary, apply a small amount of lubricant to the inside of the elbow to make it easier to insert the pipes.
Step 3: Insert the Pipes into the Elbow
- Align the Pipes: Carefully align the cut ends of the pipes with the openings of the PE pipe elbow. Make sure the pipes are inserted straight and centered in the elbow.
- Push the Pipes: Apply gentle pressure to push the pipes into the elbow until they reach the desired depth. If using a solvent welding system, follow the manufacturer's instructions for applying the solvent and allowing it to dry. If using a heat fusion system, use the appropriate equipment to heat the pipes and elbow and then join them together.
Step 4: Secure the Connection
- Check the Alignment: Once the pipes are inserted into the elbow, check the alignment to ensure that the connection is straight and secure.
- Tighten the Connection (if applicable): If the elbow has a threaded connection, use a wrench or pliers to tighten the connection according to the manufacturer's specifications.
Step 5: Test the Installation
- Pressure Test: After the installation is complete, perform a pressure test to check for any leaks. Use a pressure gauge to apply the appropriate pressure to the pipes and elbow and monitor for any signs of leakage.
- Inspect the Connection: Carefully inspect the connection between the pipes and elbow for any signs of damage or leakage. If any issues are found, make the necessary repairs or adjustments.
Tips for Installing a PE Pipe Elbow in a Tight Space
- Use Flexible Tools: In tight spaces, it may be difficult to use standard tools. Consider using flexible or angled tools that can reach into confined areas.
- Work in Sections: If the installation area is extremely tight, you may need to work in sections. Install the elbow and pipes in smaller segments and then connect them together.
- Seek Assistance: If you're having difficulty installing the PE pipe elbow in a tight space, don't hesitate to seek assistance from a professional plumber or installer.
- Plan Ahead: Before starting the installation, carefully plan the layout and sequence of the pipes and elbow. This will help you avoid any unnecessary complications or delays.
Related Products
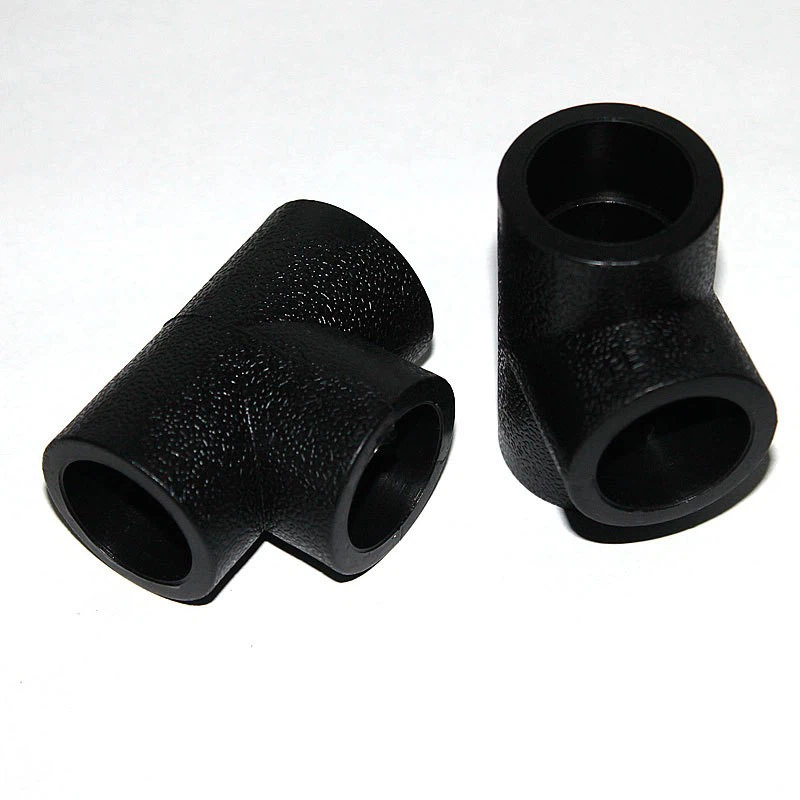
As a PE pipe elbow supplier, I also offer a variety of related products that may be useful for your piping projects. These include Carbon Steel Flange, UPVC PIPE FITTING, and Hdpe Tee Pipe Fitting. These products can be used in conjunction with PE pipe elbows to create a complete piping system.

Conclusion
Installing a PE pipe elbow in a tight space requires careful planning, the right tools, and proper technique. By following the steps outlined in this blog post and using the tips provided, you can successfully install a PE pipe elbow in a confined area. If you have any questions or need further assistance with your piping project, please don't hesitate to contact me. I'm here to help you find the right solutions for your needs.
References
- "PE Pipe Installation Guide," [Manufacturer's Name], [Year of Publication]
- "Pipe Fitting Handbook," [Author's Name], [Publisher's Name], [Year of Publication]


